
I rarely -if ever- say this, but I'm about to toot my own horn. This is a personal accomplishment to me. This is something I never fathomed being able to do, but I decided to do it and I actually could! I never challenge myself to do something I'm unsure I'm capable of (case in point: croissants), but this was one I did. And, I am so proud to say I made these. I did it!
I didn't mess with the photos like I typically do (there's a lot of them!), and yes I do take my photos with my iPhone...because it's always accessible and I don't have an extra memory card for the good(better/real) camera.
I was surprised how easy it actually was, it's just extremely time consuming. So, if you don't have an afternoon free, don't attempt it until you do- I started this at approximately 11am.
edit: I just realized I skipped the flour. Are you kidding me? I actually skipped the flour because when I was reading the recipe off the computer screen while making them, I must have accidentally overlooked it- and now I'm kind of irritated with myself for forgetting this, but it explains the spreading, and thin-ness and not making as much as I thought it would-ness. However, they still came out really well (as you can see) and taste good, too they're just dense and stickier than they probably should be. Sorry guys, I shouldn't be so impressed with myself!
Here we go!
Let me begin by saying, this is NOT my recipe. This is a Lidia Bastianich recipe, which you can find h e r e.
So, remember that almond paste I made yesterday, for an undisclosed treat because I didn't want to get ahead of myself and was unsure how it would come out? Yup, this was it. Minus the run-on sentences I frequently abuse.
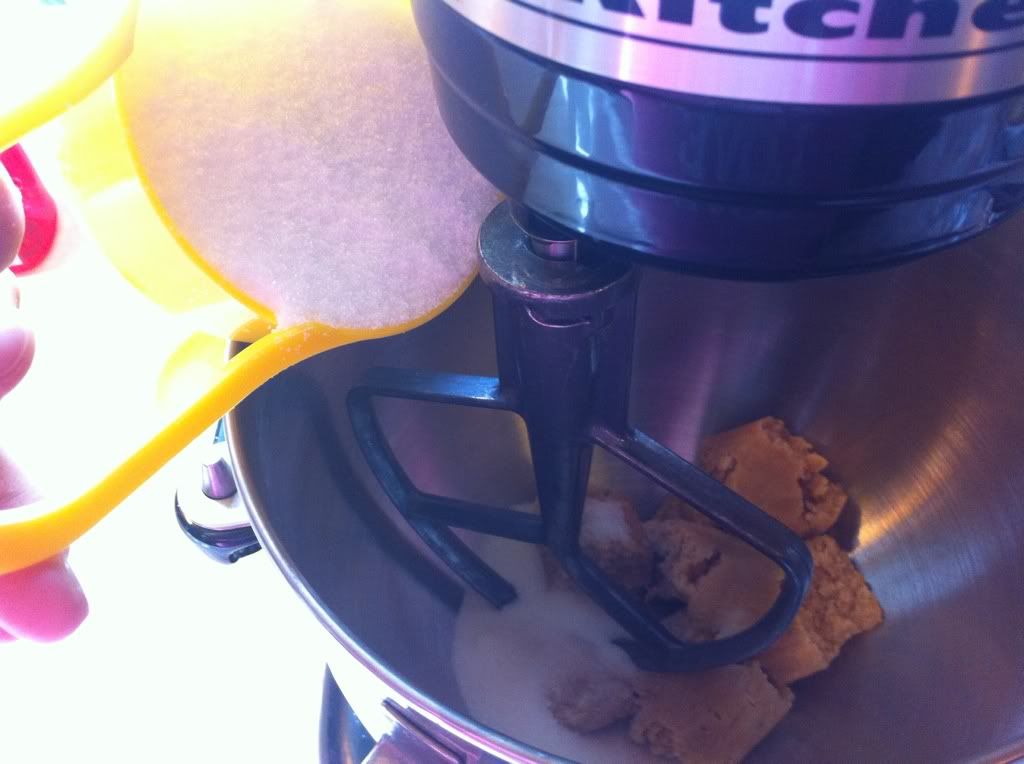
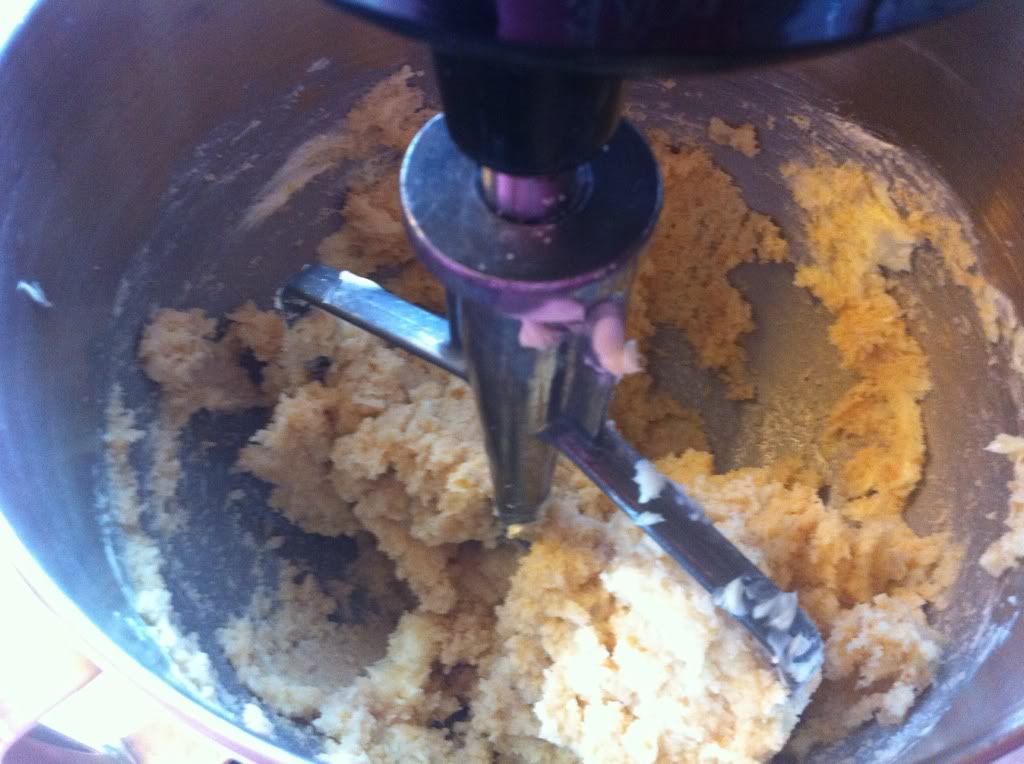
You start by mixing the almond paste (which I broke into small pieces), and all but two tablespoons of the sugar.
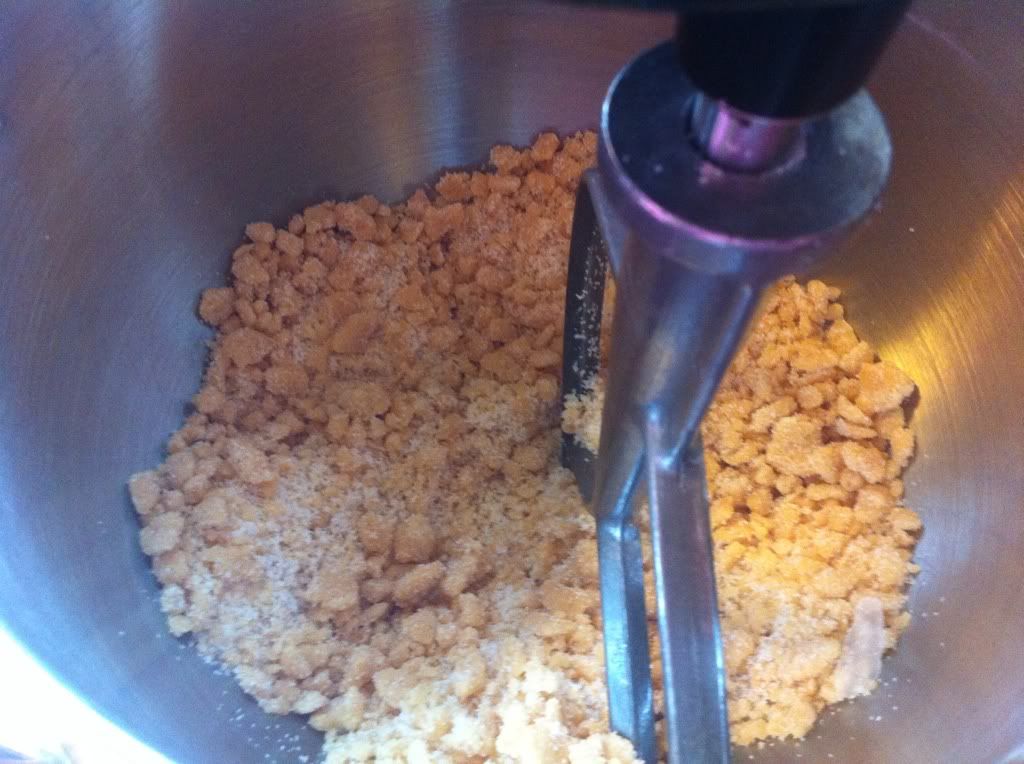
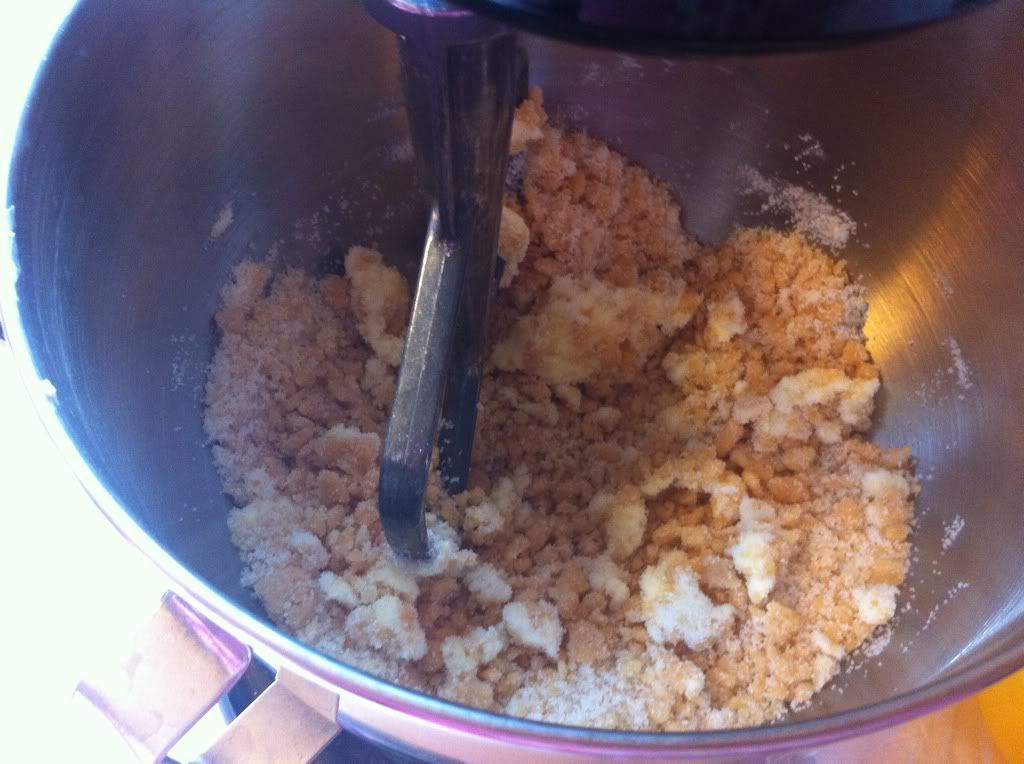
Mix until it looks like small pebbles
Add the butter about a tablespoon at at time
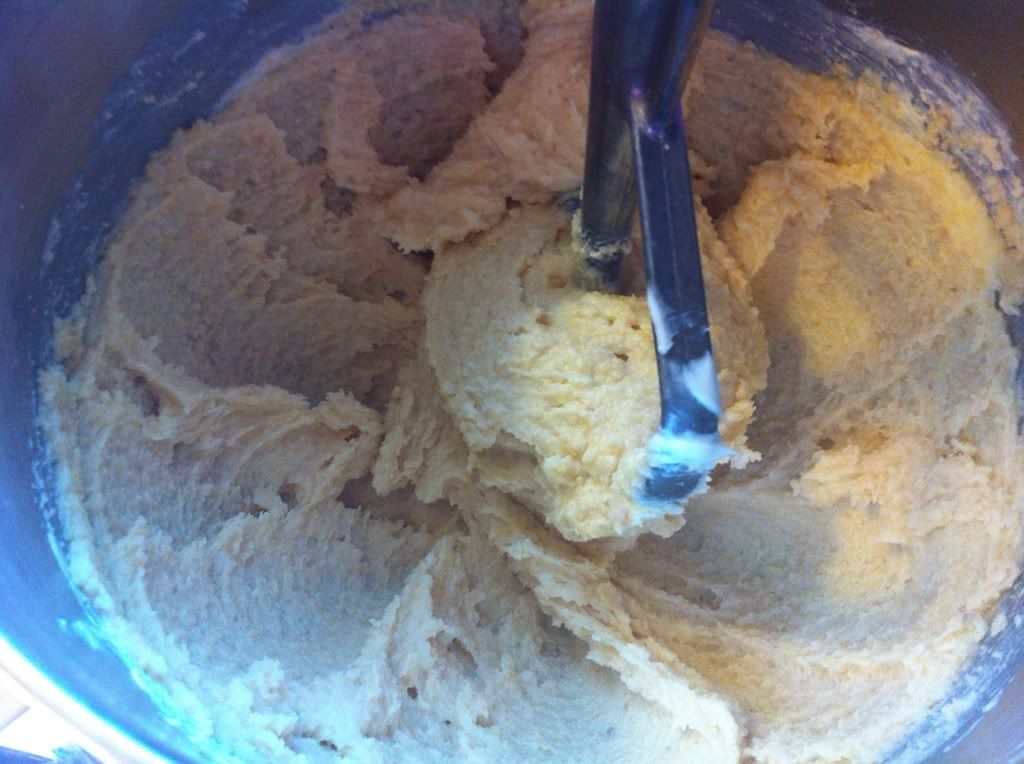
Then, add the egg yolks, one at a time and allow it to come together.
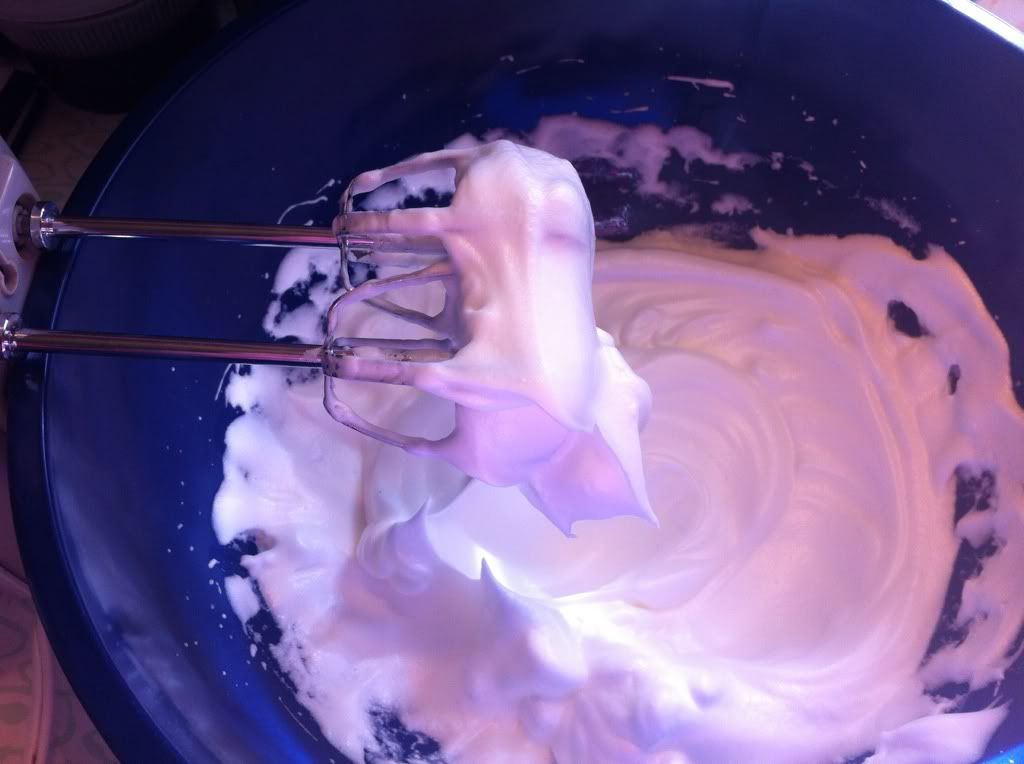
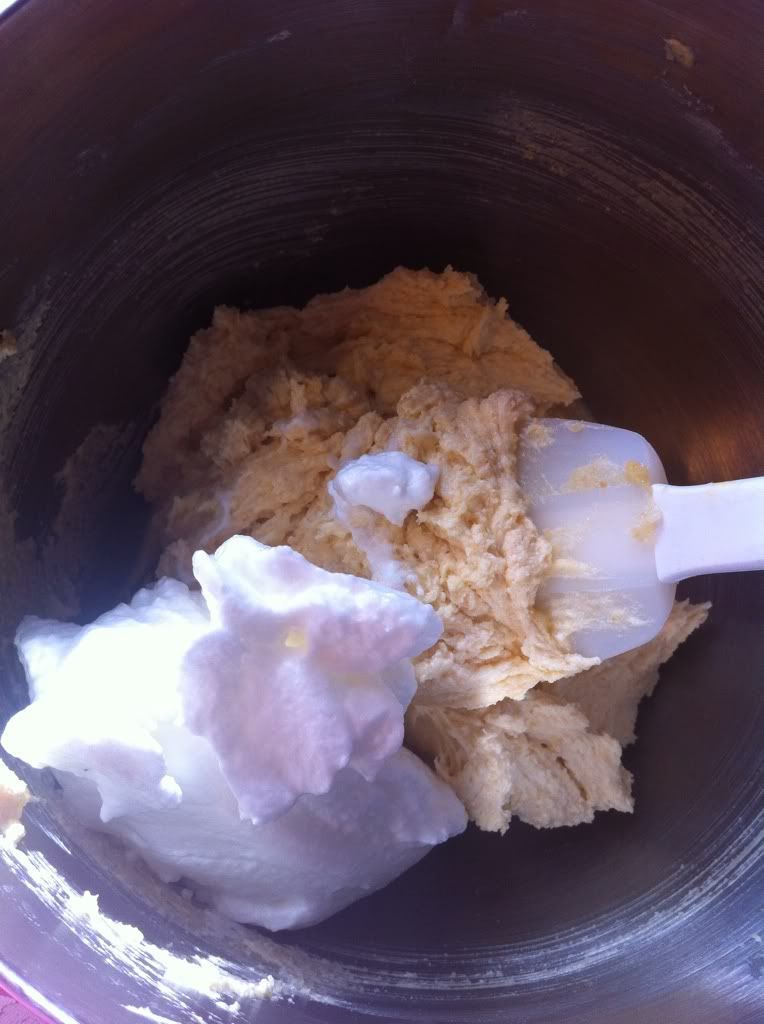
In a separate bowl, beat the egg whites, gradually adding the two tablespoons of sugar until stiff peaks form
Divide the meringue into thirds, and fold them into the almond batter, one third at a time.
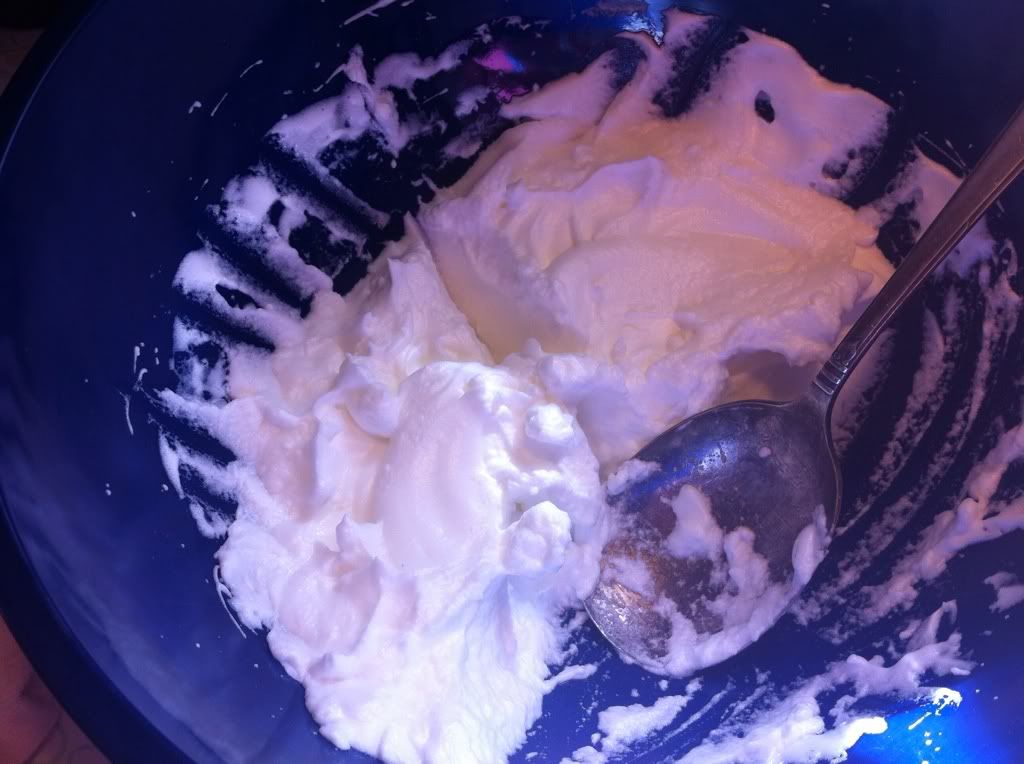
First third:
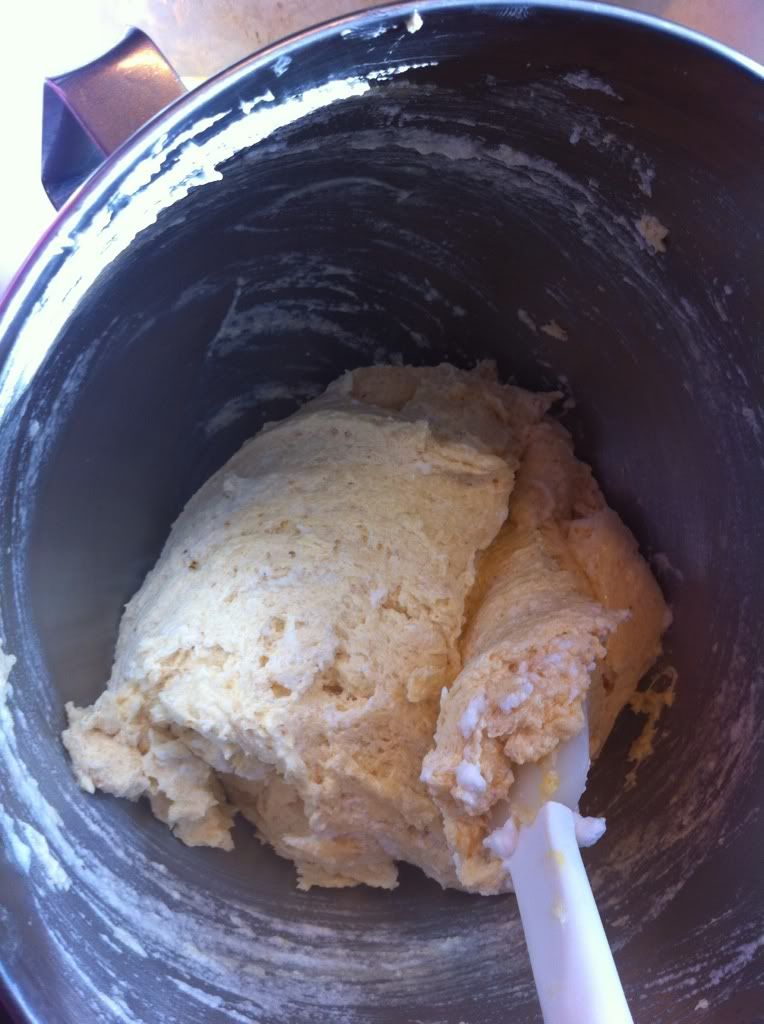
After the second addition:
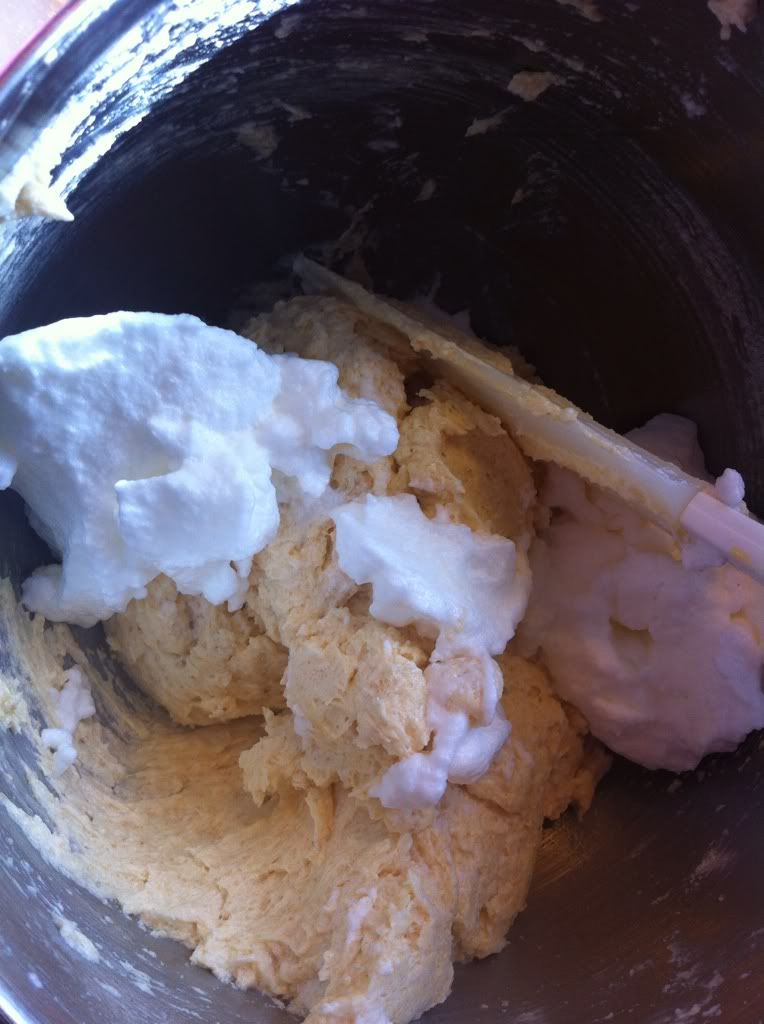
Final addition:
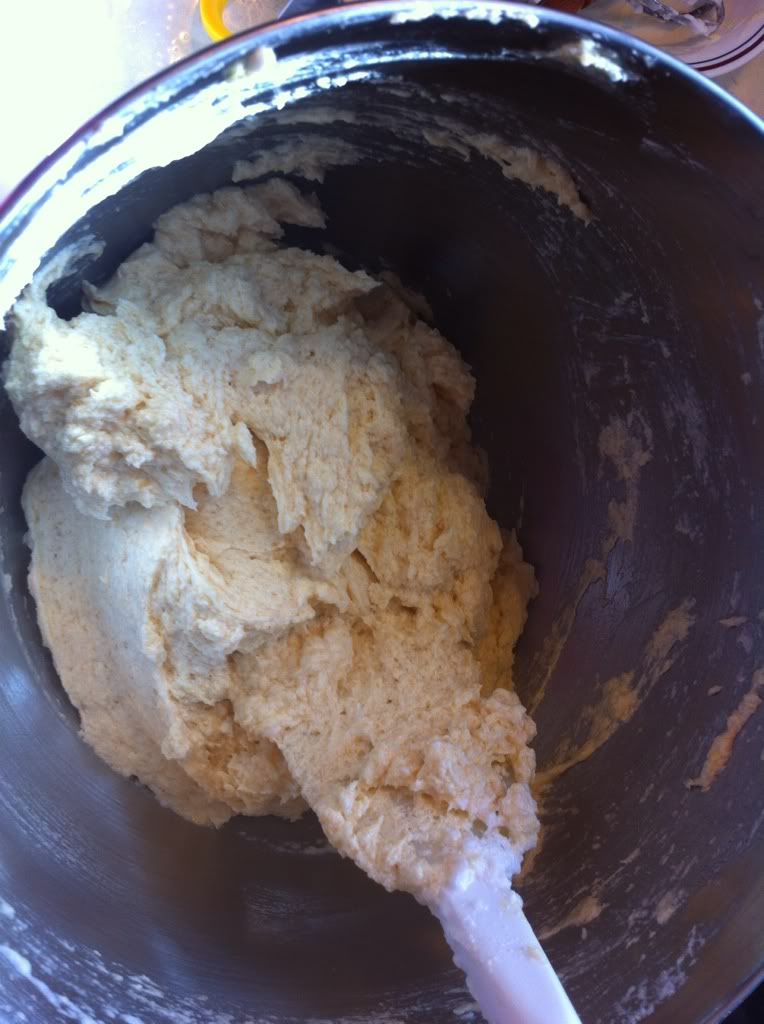
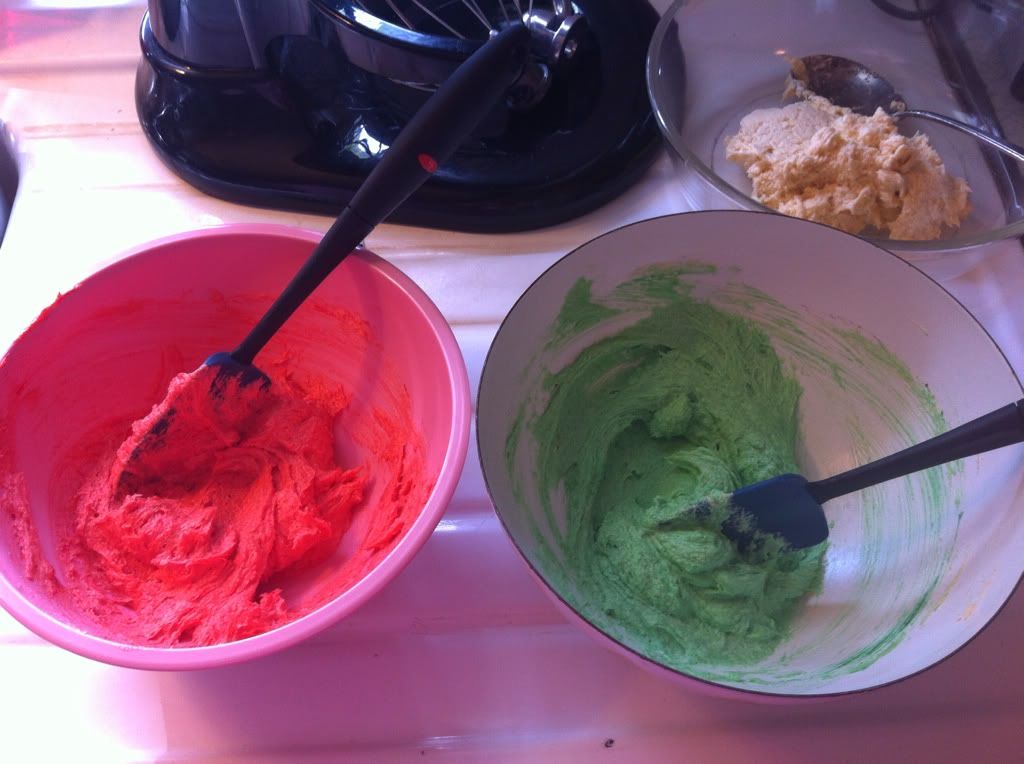
Now, divide your batter into three separate bowls.
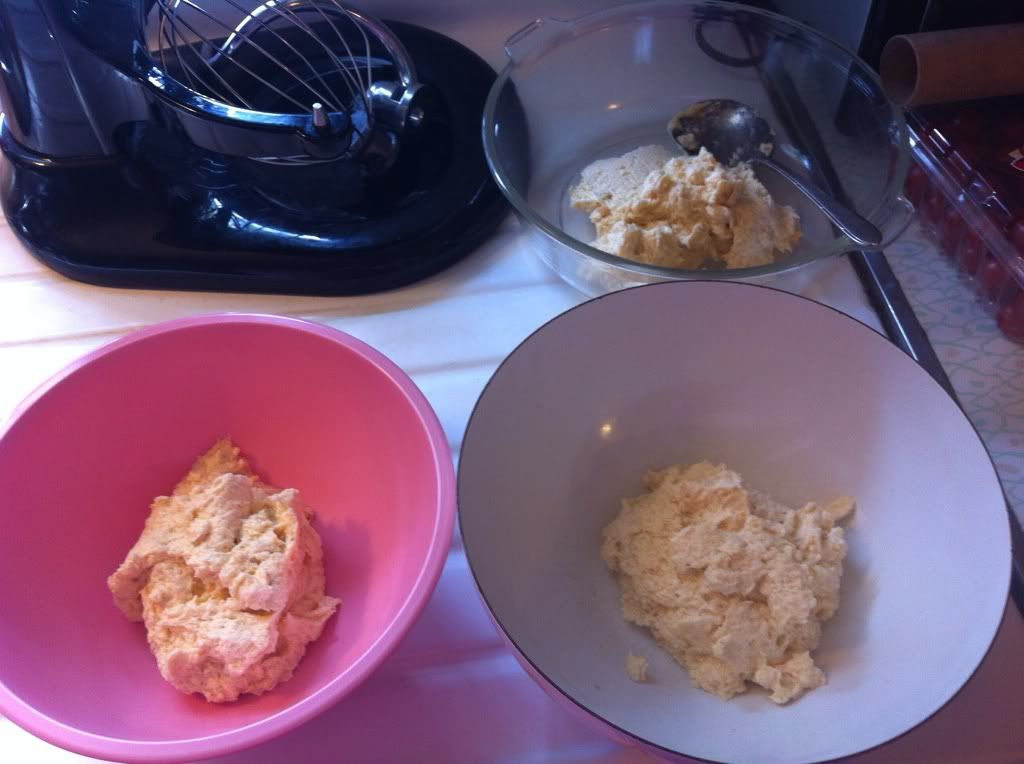
Leave one uncolored. Color one bowl with red, one bowl with green. I use the gel food coloring because it really works a lot better than anything else I've used. I also colored them pretty heavily because I didn't want them to lose a lot of color in the baking process.
Now, meanwhile...in la-la land-which is where I live and breathe...I didn't have the correct size pans. Lidia said to use a 15×10 sheet pan, which as I said, I do not have. So I used cookie sheets. I didn't account for the spreading and bubbling that ensued...so there are no baking pictures.
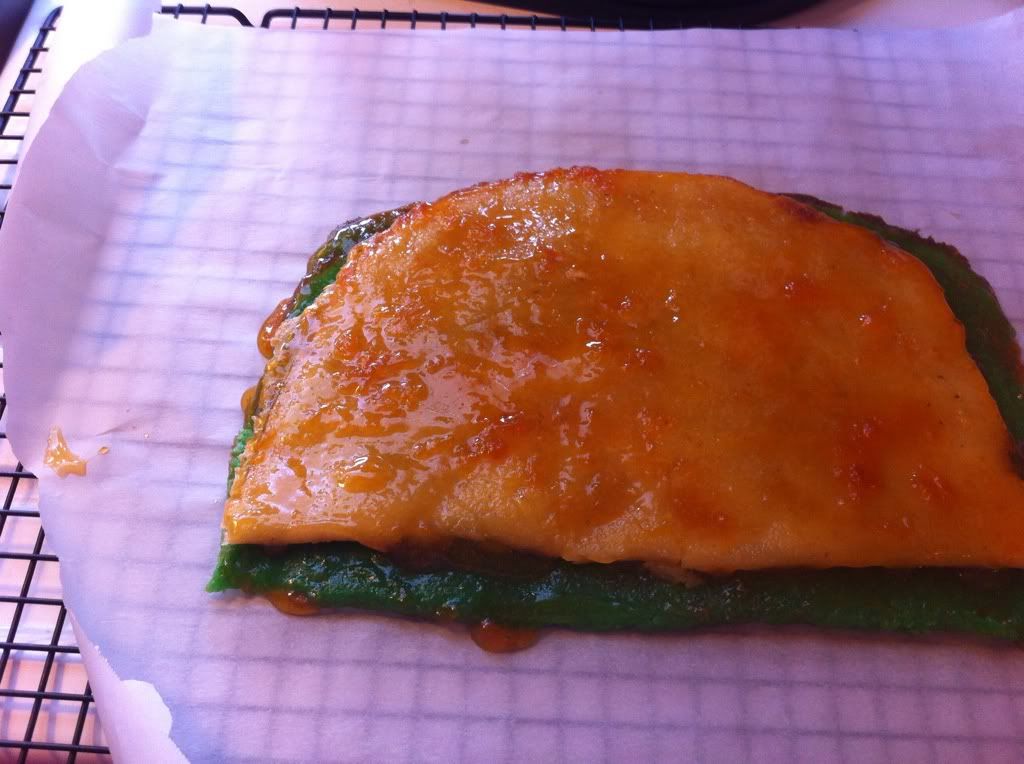
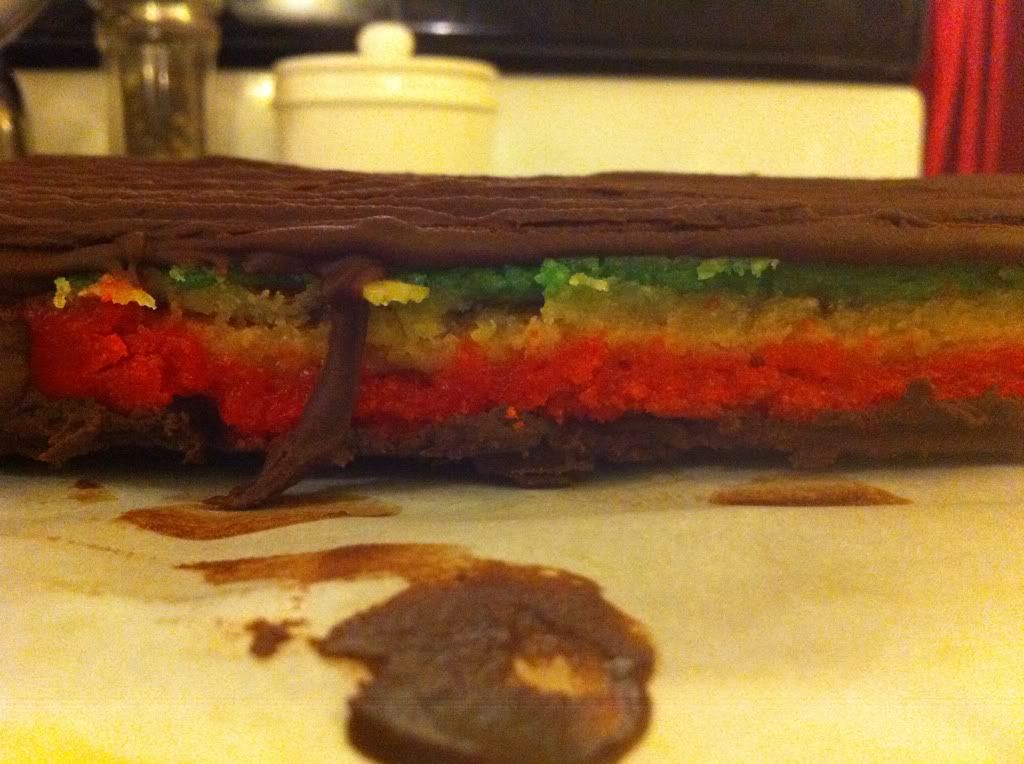
So begins the layering. They go: green, white, red(like the flag). So, using A LOT of parchment, and a cake lifter I cautiously started the most intense baking scenario of my life. I really wanted this to be perfect.
As I said, I had the wrong sized pan and the layers spread and were uneven and thin, so I wound up folding them over to make them thick like I wanted them.
Layer one: green + jam

Ok. At this point, it's rather ugly. Don't fret like I did! It doesn't need to be perfect right now- trimming is your friend! I heated up about a tablespoon or so of the apricot jam at a time, for like 30 seconds in the microwave just to loosen it and spread it easier. Work quickly because it stiffens pretty quickly.
Layer two: white + jam
CHILL OUT! Take a breather, it's gonna be OK, it only LOOKS like a disaster right now! I promise, it's going to work out!
I had to use a cake lifter to do this. I contemplated flipping pans and all that but the layers were thin and fragile and it was making me anxious thinking about it and I REALLY, really wanted this to not turn out poorly.
Layer three: Red. Just red.
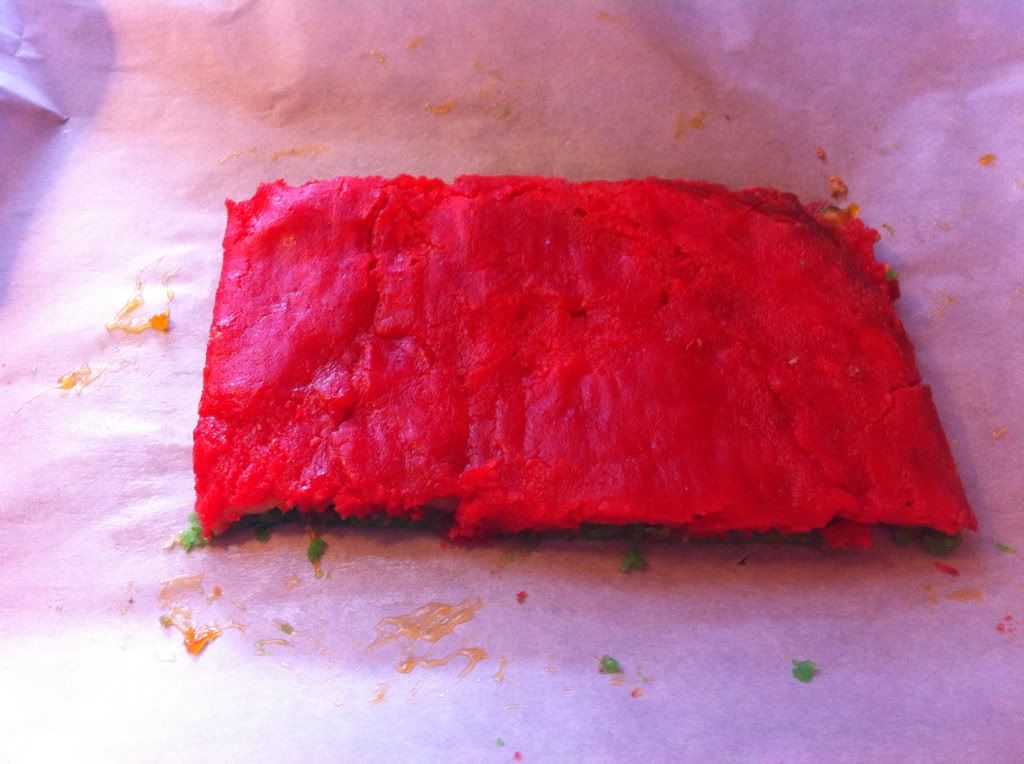
See! I told you we could trim and prettify it!!
I trimmed the edges and refrigerated the whole thing for at least an hour.
So, one thing I don't love about where I live is how difficult it is to get pretty common ingredients but I guess no one around here is looking for bittersweet chocolate bars. I guess everyone around here just grabs bags of chocolate chips. Whatever.
You really shouldn't use chocolate chips for this, because, for one-they never taste as good, and for another-they have stabilizers in them so they don't melt as well, or as easily, or ever as quickly. If you're like me and have no choice but to resort to semi-sweet chocolate chips, you WILL need to add a tablespoon of butter and splash of milk to the chocolate. My advice: do this in a double boiler.
And, it's going to do one of these
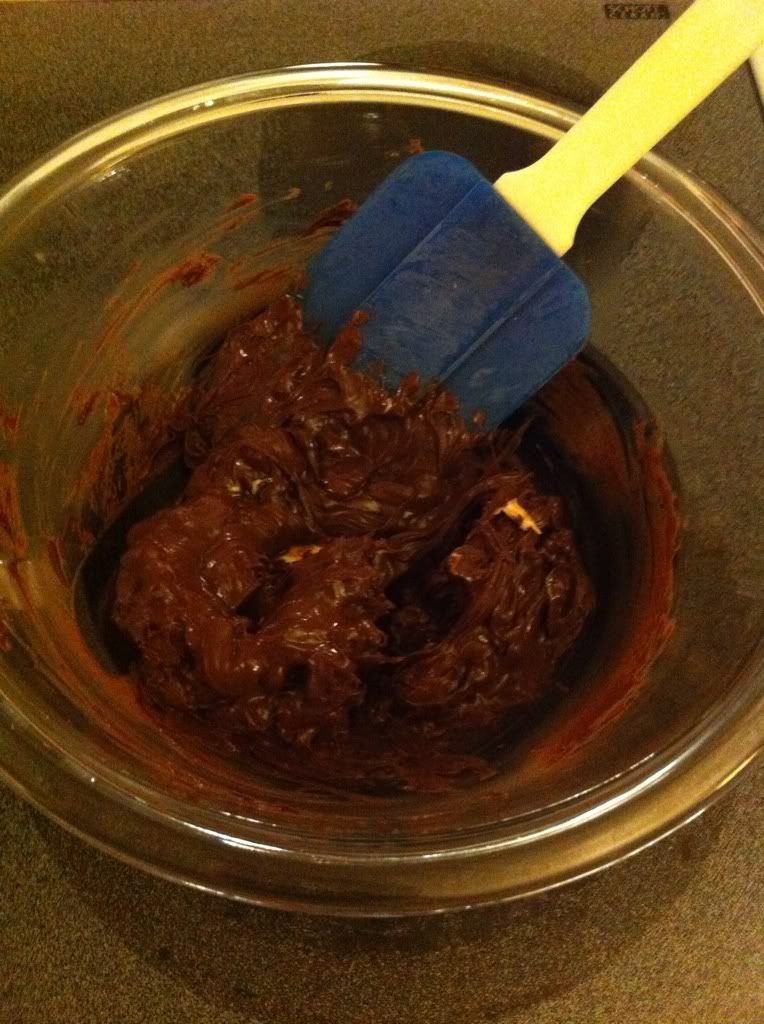
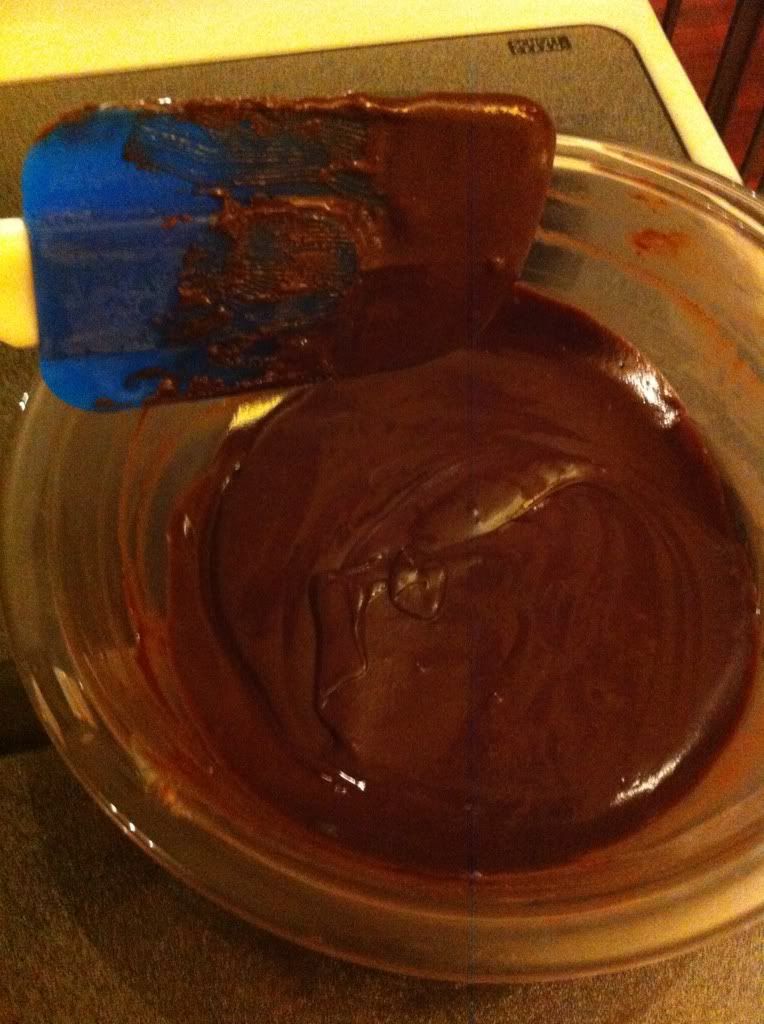
And, you're going to think; great! Just great! It's seizing! It's not going to melt! BUT! Keep stirring, and have some patience, and it will look like this after a few minutes
Keep your assembled layers in the fridge until you're ready to chocify those little suckers, because otherwise they'll probably soften and it will be like trying to frost and uncooled cake...if that's ever happened to you (it's happened to me...)
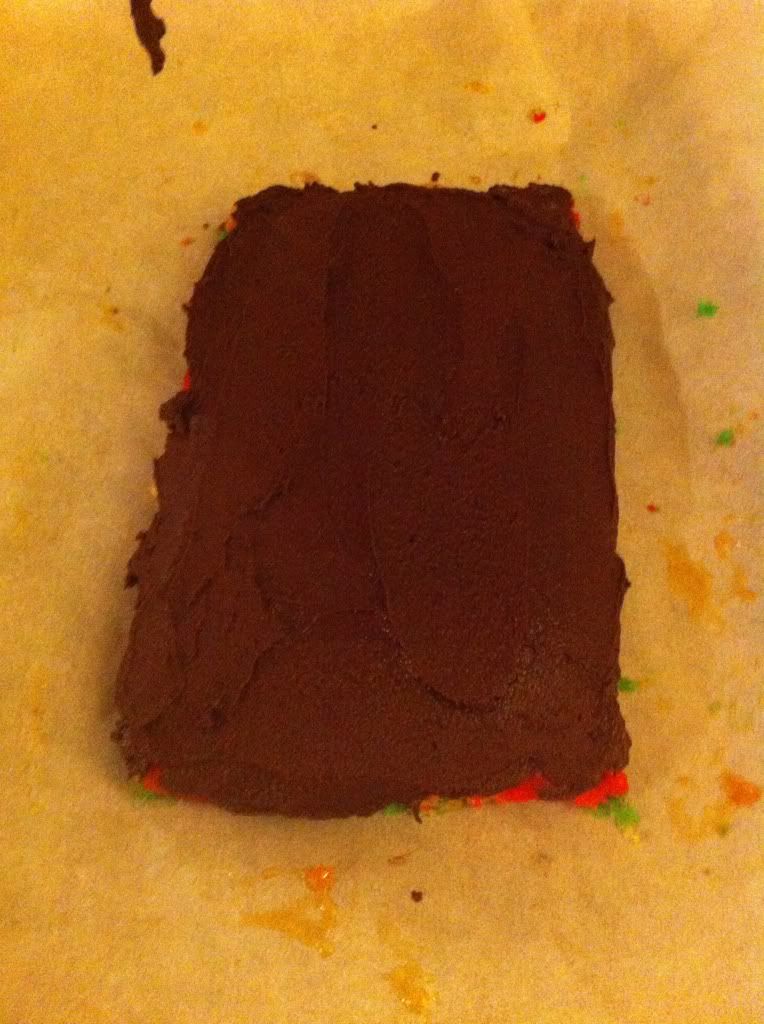
Smooth it on the top
Then, take a fork and gently drag the tines over it to make ridges
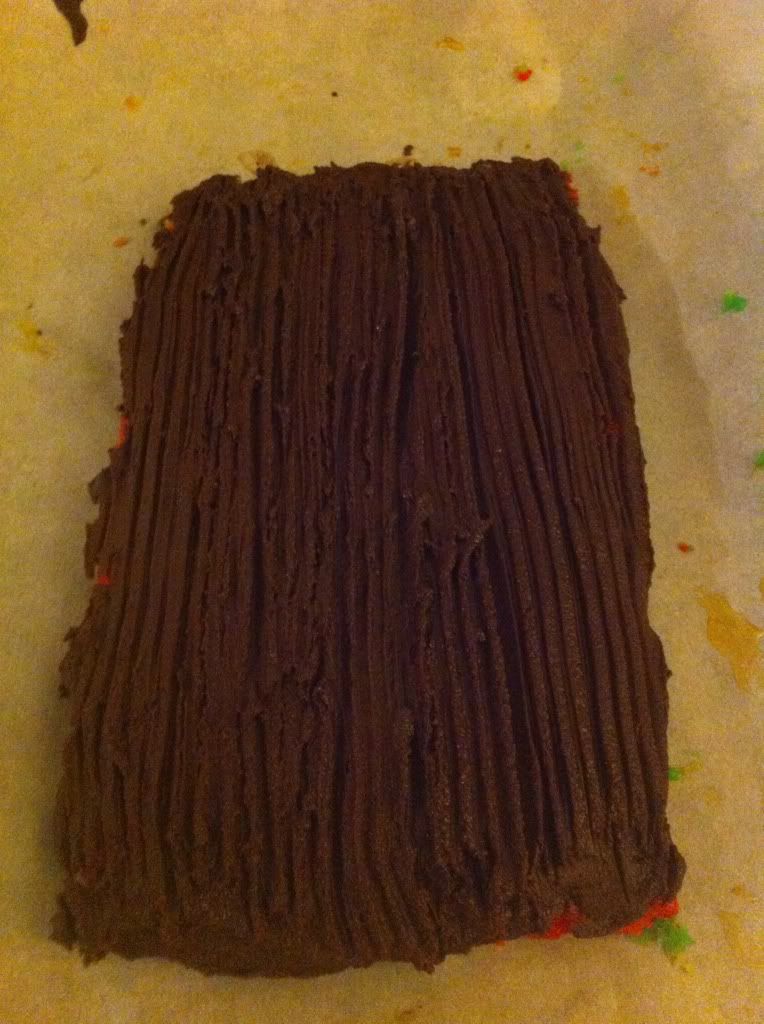
"Why?" you may ask? Aside from aesthetics, I've learned on my culinary journey that when Lidia Bastianich tells you to do something, you do it. So, because Lidia says to. If I believed in multiple gods, I would believe in the culinary gods of Lidia, Julia, & Jacques, and I would not question their reasoning.
And here's why you should keep the layers on parchment: when you're finished "raking" it, refrigerate for, say a half hour or so, so the chocolate sets up and hardens. When it's hardened, put the layers (chocolate side up, still on the paper) in a cookie sheet. Take a second cookie sheet, lay parchment in it, and cover the top of the cookies and flip it.
Then, repeat chocifying on the other side.
Refrigerate again for a half hour+ so the chocolate hardens.
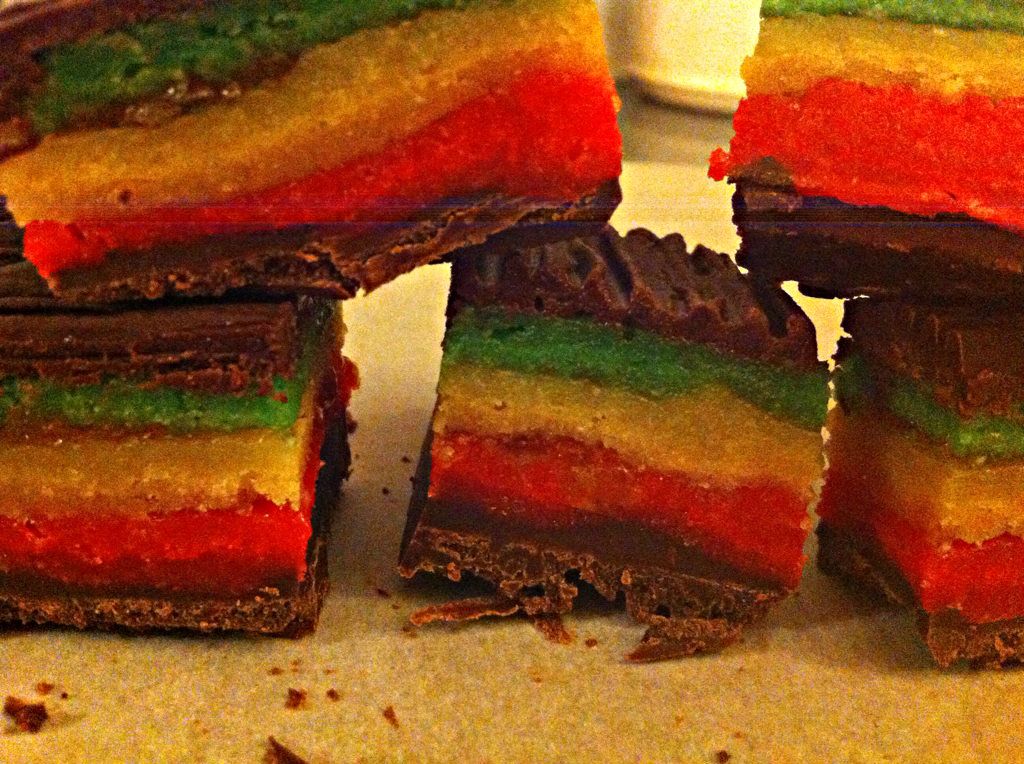
Cut them into small petit-four type cookies, and pat yourself on the back for making something that will not only impress yourself...but hopefully your friends will be totally blown away too.
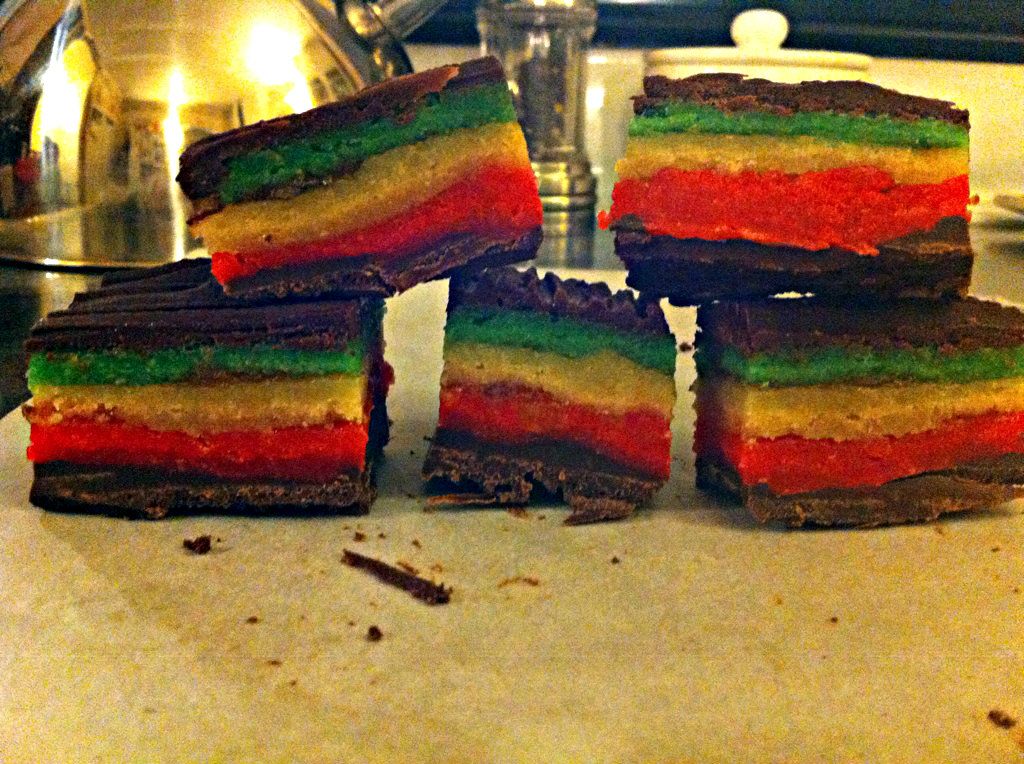
Italian Rainbow Cookies
Ingredients
- 8 oz almond paste
- 1 cup sugar
- 2½ sticks unsalted butter, softened, cut into pieces
- 4 large eggs, separated
- 2 cups all-purpose flour (which is apparently optional)
- 1 tsp. red food coloring, gel preferred
- 1 tsp. green food coloring, gel preferred
- two 15-oz jars smooth (not chunky) apricot jam
- 1½ lbs bittersweet chocolate, chopped
Method
- Preheat the oven to 350°F. Butter and flour three 15-by-10-inch rimmed sheet pans, and line the bottoms of the pans with parchment paper.
- Combine the almond paste and all but 2 tablespoons of the sugar in an electric mixer fitted with the paddle attachment. Mix on medium speed until you have fine crumbles. Add the butter, a few pieces at a time, and pulse until well mixed. Plop in the egg yolks, one at a time, and mix until the batter is smooth. Sprinkle in salt, and mix. Sift in flour, and mix until just combined.
- Whisk egg whites in a bowl until foamy. While whisking, slowly add the remaining 2 tablespoons sugar, and whisk until firm peaks form. Fold about a third of the egg whites into the batter to lighten it, then gently fold in remaining egg whites.
- Divide batter evenly into three bowls. Leave one bowl plain, without any coloring. Add red food coloring to one bowl, stirring to make a deep-salmon color. Add green food coloring to last bowl, stirring to make a medium-green color. Spread batter into each of the prepared pans with a spatula. Bake, rotating pans to opposite racks, until cakes are cooked through and just beginning to brown around the edges, about 8 to 10 minutes. Remove from oven, let cakes cool completely on wire racks, then remove from pans.
- Trim each of the layers to even out the thickness of the cakes. Put the green cake layer back, cut side up, into one of the lined pans. Spread one jar of jam over the cake, almost all of the way to the edges. Place the plain layer of cake on top of the jam. Spread the remaining jar of jam almost all the way to the edges of the plain layer. Place the red layer on top of the jam, cut side up. Wrap the entire cake in plastic, and top with another pan, weighted with cans. Chill in refrigerator 4 hours or overnight.
- Melt chocolate in a double boiler. Unwrap the cake, and place on a wire rack over a rimmed baking sheet. Pour and spread the chocolate over the top the cake, using a spatula to guide the chocolate over the top and down the sides of the cake. If the kitchen is cool, let the chocolate harden that way; if it is warm, clear a space in the refrigerator to place the cake and let the chocolate harden. When the chocolate is about halfway set, gently rake the topping with the tines of a fork or a dough scraper with dentals, starting from the end of the chocolate covering all the way to the other end, slightly undulating the lines as you move along. Repeat until all of the chocolate has indented stripes. Let the chocolate set completely.
- Using a serrated knife, cut the set and decorated layers into three dozen rectangles, using the outer sides to form perfectly cut rectangles.
No comments:
Post a Comment